Get Better at Riding the Concept2 Bike

Get Better at Riding the C2 Bike
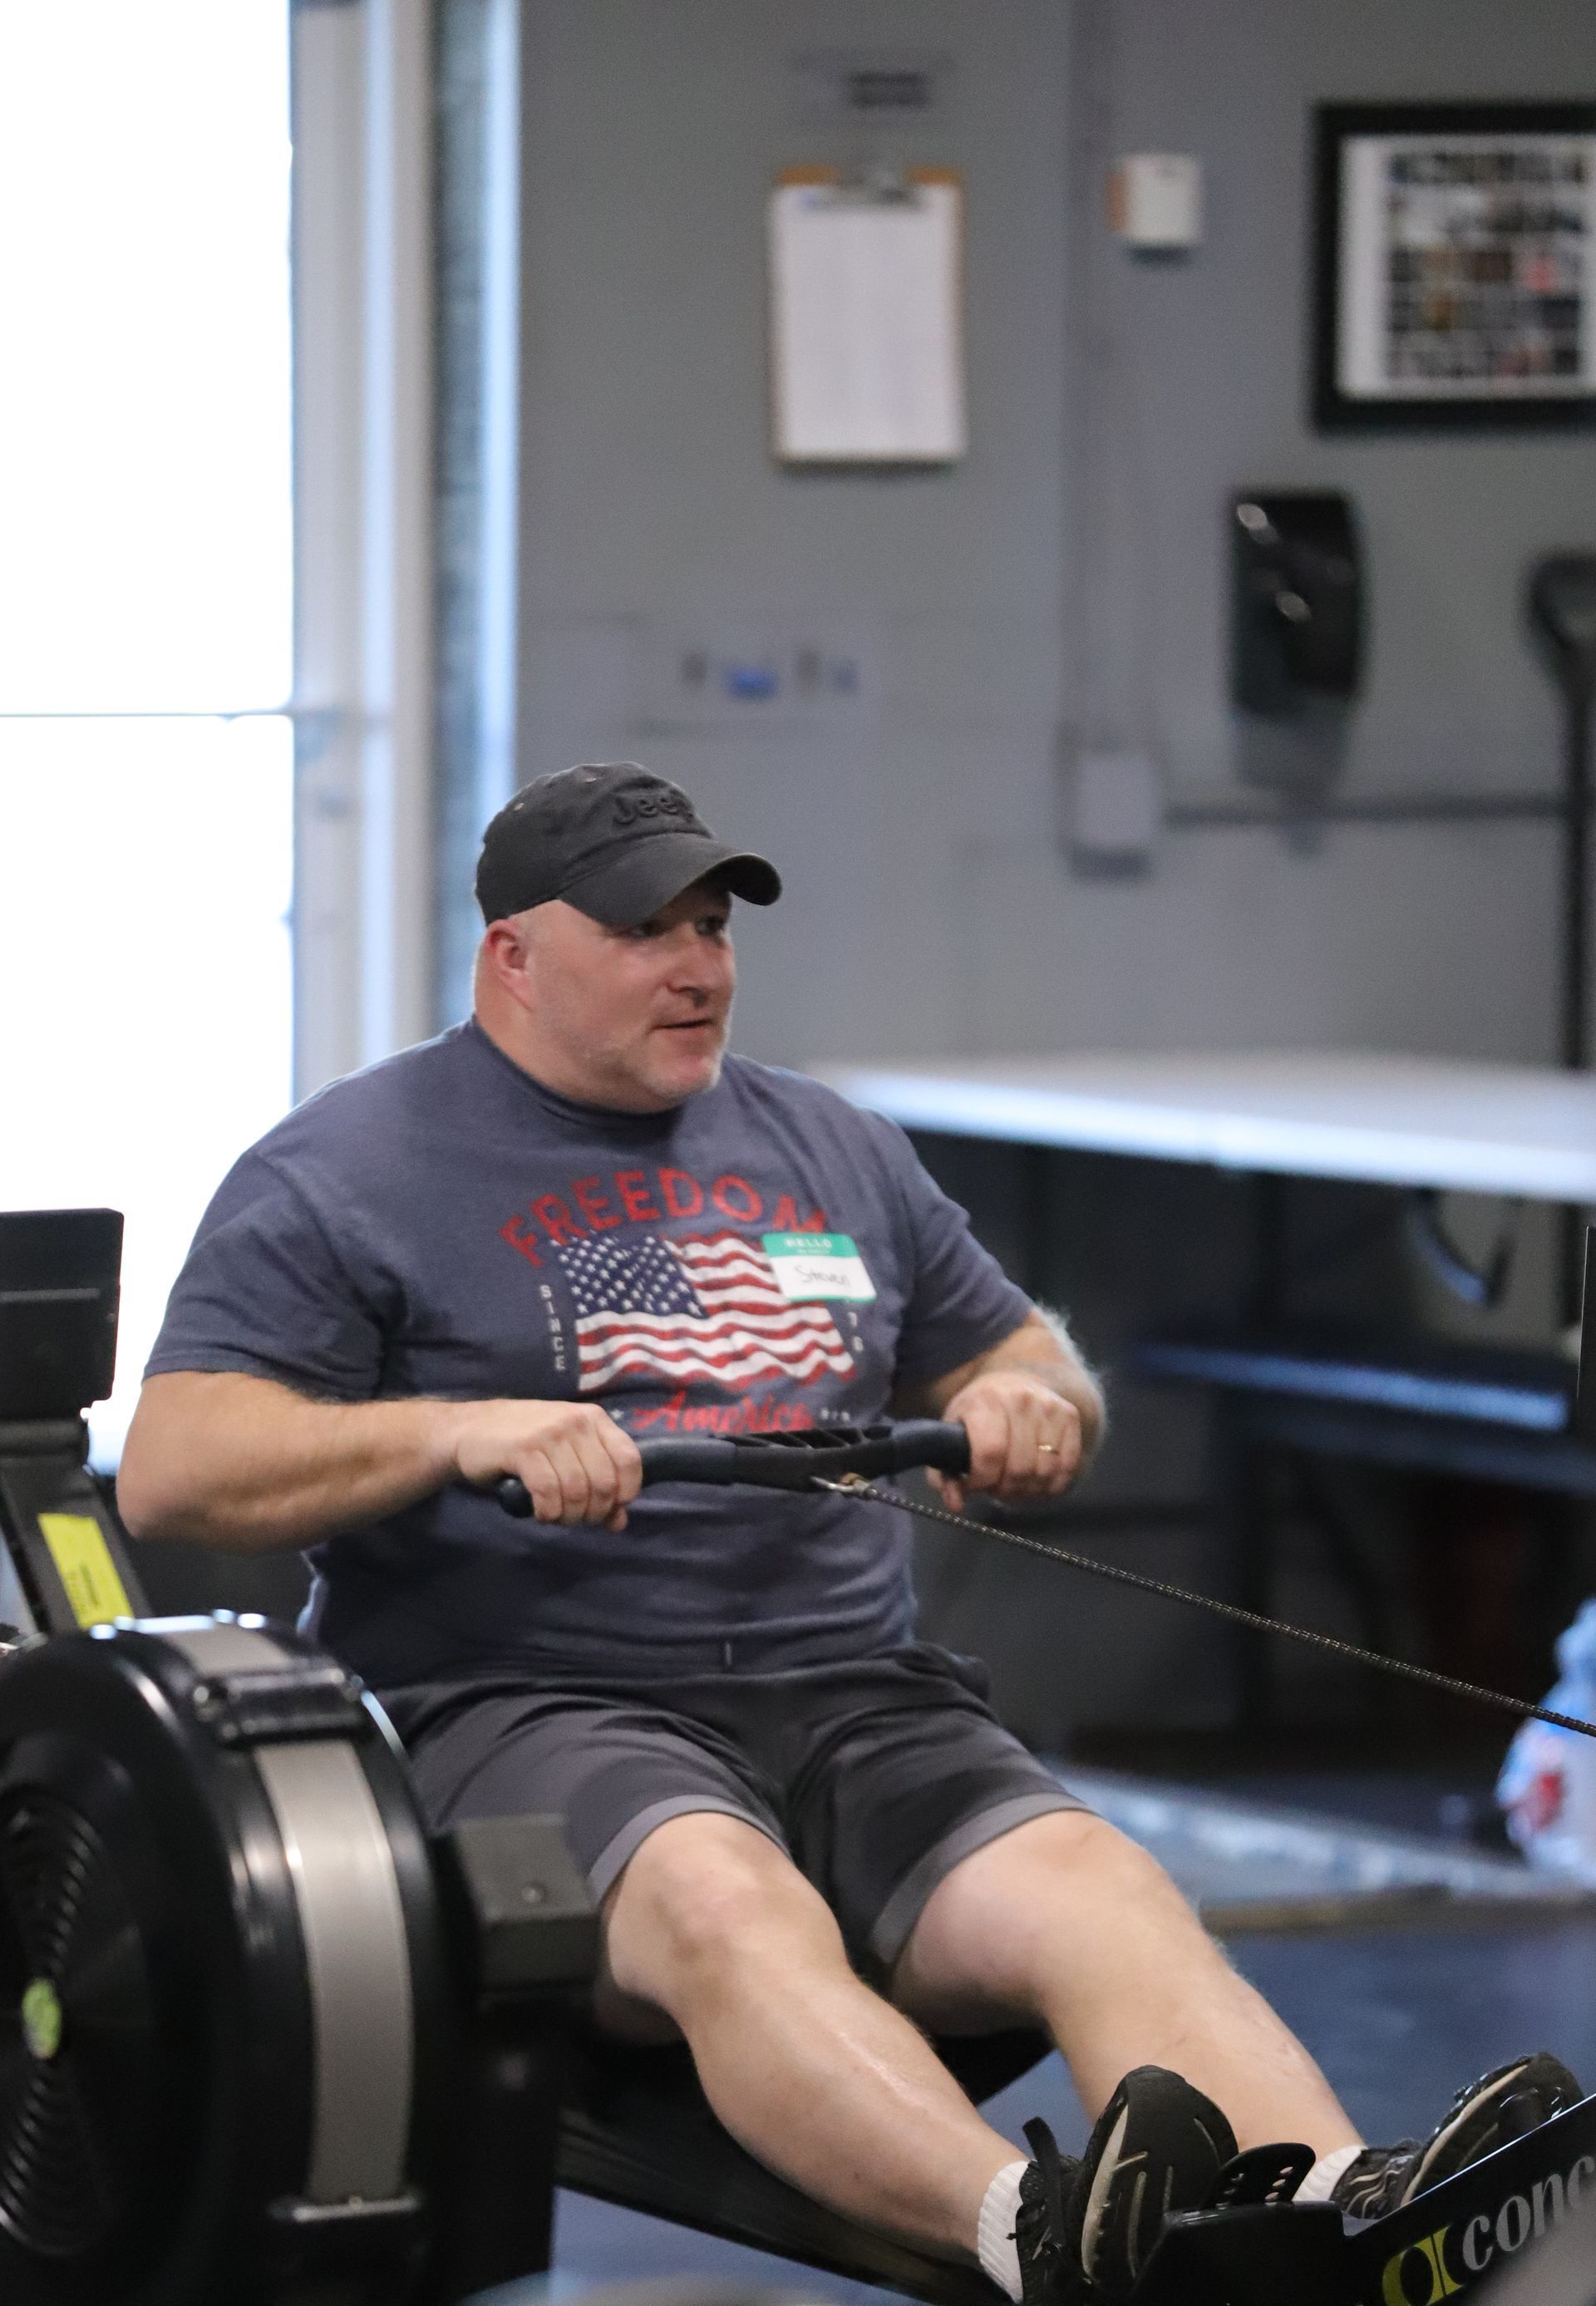
We incorporate the Concept2 BikeErg a ton during our CrossFit workouts. And on its own, it’s a wonderful way to boost cardiovascular stamina and leg endurance. So how do we get better on the “C2 Bike”?
Read on for a few tips regarding proper C2 Biking technique and a few ideas on training strategies.
1) Focus on Your Form
Set your saddle to about hip height. Basically, you want a slight knee bend when your foot is at the very bottom of its stroke (pedal at its lowest point).
Posture also plays an integral role. Keep your upper body relaxed but upright. Set up the handlebar height to give you a slight forward leaning chest. And don’t forget to engage your core. This will help you stabilize your torso which will reduce energy leakage. Lastly, don’t sit up exactly straight. This will sap your power output.
Always pay close attention to your pedal strokes. Focus on a smooth, circular stroke pattern rather than just pushing down with your quad muscles. Likewise, get your hamstrings involved by pulling up on the pedals (griping with the bottom of your sneaker). This helps to create a more efficient, continuous motion.
Lightly grip the handlebars to avoid unnecessary tension in your arms and shoulders. Keep your energy focused on your leg drive and stabilization in your core.
Lastly, control your breathing! This is especially hard when you’ve just completed 20 Box Jumps, 15 Power Cleans, and whatever else came before the C2 Bike in your CrossFit workout. Concentrate on developing a rhythmic breathing pattern that synchronizes with your foot pedal strokes (example – breathe in for three down strokes with your right leg and then out for three down strokes with your right leg). Inhale through your nose and exhale through your mouth, focusing on controlled breathing. This is especially important and will benefit you greatly during a high-intensity interval training session.
2) Optimize Resistance
Resistance can be a game changer in both a positive and negative way! Pedal stroke resistance is set by adjusting the damper (settings 1 – 10) on the left side of the flywheel. The higher the setting, the more resistance. Think of a “10” like trekking up a super steep hill or riding through a foot of mud. With this setting, you’ll most definitely be putting a ton of power into the BikeErg, but you will burn out quickly. This will lead to very low sustainability and inefficient power output. Conversely, saddle up, set the damper to “1”, and pedal hard for 60 seconds. A setting of “1” is similar to riding on a slight downward grade. Your legs are moving swiftly, but you’re most likely reducing the overall training benefit because you're not generating much power.
Very high and very low damper settings have specific use cases during interval training. But when biking for a longer duration of time (greater than 10 minutes), a moderate damper setting (3 - 6) is often best and will provide great benefit.
3) Cadence and Effort
We can measure effort in a few ways using the BikeErg’s metrics tracking monitor. Examples – “Calories per Hour”, “Wattage”, and “Pace (minutes and seconds) per 1000 Meters”. Cadence refers to how fast (or slow) the pedals are moving. It is measured in Revolutions Per Minute (RPM).
There are generally three metrics you should be aware of during your ride: Cadence, Effort, and your Goal (number of calories, specific distance, or a specific amount of time).
You’ll want to find a Cadence that allows you to maintain consistent effort while working toward your goal. For many cases (e.g. 5K ride, 20 calories during the middle of a CrossFit workout), a Cadence ranging from 80 - 100 RPMs with a Wattage ranging from 125 – 175 will be ideal. This will ensure a consistent power output and effort.
But I encourage you to experiment with different damper settings and Cadence. If your legs are strong and the goal is short, try adjusting the damper way up and pedaling super hard – the Wattage will skyrocket and you’ll reach your goal more quickly.
4) Ideas for Training
As is the CrossFit custom, I encourage you to test out short, moderate, and long duration rides along with varying degrees of intervals and intensity. These can all be achieved in the CrossFit Vertex Open Gym space (the “Annex”).
Some ideas:
- Short bursts of maximum effort followed by recovery periods. Example – 8 rounds of 30 seconds of hard pedaling (work) followed by one minute of rest.
- A 35-minute ride at 80 RPM (Cadence) averaging 145 Watts (Effort).
- A 15-minute ride, every five minutes increase RPM (Cadence) while Wattage (Effort) remains consistent.
By focusing on form, pedaling technique, Cadence, and Effort, you’ll realize some significant gains on the C2 BikeErg. I would love to hear about your results!
I’m
Coach Deb Galloway, I'm an avid cyclist with thousands of miles of road time. I’ve been passionate about health,
nutrition, and fitness for as long as I can remember. I've had a Precision Nutrition Level 1 Certification for six years. Here at CrossFit Vertex, we’re excited to help you start your fitness journey! Schedule a quick meeting with us today:
CrossFit Vertex Calendar.
Deb Galloway, PN-L1
Coach, CrossFit Vertex

Previous Posts

Reach your fitness goals at CrossFit Vertex today!
Book your free intro today to see how we can help you reach your fitness goals.